Ear Irrigation Procedure At Home
You will find an ear irrigation procedure for removing earwax buildup at home in this article.
What is ear irrigation?
Ear irrigation, also known as syringing, is a procedure used to remove earwax buildup by flushing it out from your ear with water1.
It relies on getting water past the wax in the auditory canal so that it builds up deep to the wax and then pushes it outwards2.
Ancient Egyptians were practicing syringing with olive oil, frankincense, and salt3.
What is earwax?
Earwax, also known as cerumen, is a yellow, brown, or gray sticky substance secreted into your ear canal.

It eliminates dead skin cells, repels water, traps dirt, lubricates the canal, and fights microbes2,4,5,6,7.
- A modified sweat (that has antibacterial and antifungal properties)
- An oily material
- Dead skin cells rich in keratin
What are the causes of earwax buildup?
A study reported that in a random sample of 800 people 12.5% had earwax that completely obstructed their ear canal3.
The reasons that lead to an accumulation of earwax include2,4:
- An over- or under-production of its constituents
- A failure to self-clear due to slow skin migration
- Mechanical issues, such as the use of cotton swabs or hearing aids
- A narrowing of the ear canal
Related: How To Alkalize Your Body Fast
What are the consequences of earwax buildup?
An excess of earwax (impacted earwax) can cause a variety of symptoms including2,3,4:
- Itching
- Pain
- Hearing loss
- Tinnitus
- Dizziness
- Increased infection risk
Can earwax buildup cause hearing loss?
While a buildup of earwax can cause hearing impairment, it can also reduce the efficiency of hearing aids2.

To cause a significant conductive hearing loss, the wax must completely block the auditory canal2.
Nevertheless, partial occlusion can alter the resonant properties and the quality of the hearing2.
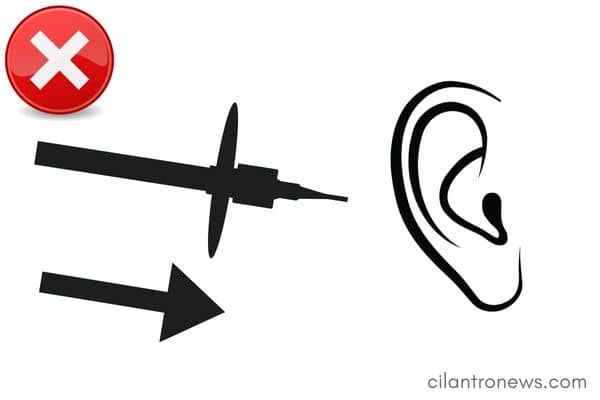
Are cotton swabs safe for ears?
Cotton swabs (Q-tips) should only be used to clean the external ear and not inserted into the auditory canal.
When you insert a cotton swab into your ear canal, you push most of the earwax further into your ear and compress it.
The deep ear canal is wider than the opening, making it more difficult to remove a large plug of dry, hard wax located deep in the canal2.
Also, if you insert a cotton swab too far inside your ear canal, you may rupture your eardrum8,9.
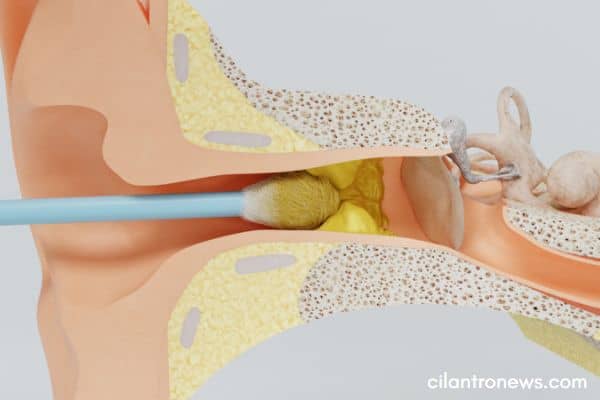
What are the benefits of ear irrigation?
Earwax is a sticky substance that can become adherent to the ear canal skin and tympanic membrane2.
When you perform ear irrigation, the pressure of the water detaches the earwax stuck to your ear canal walls.
Water then flows out of the canal along its floor, washing away wax and debris10.
There is a consensus that ear irrigation is effective at removing earwax1.
What are the limitations of ear irrigation?
An ear irrigation procedure cannot remove earwax that has completely obstructed the ear canal2.
In this case, this technique could easily make matters worse by impacting the wax against the tympanic membrane2.
Can earwax removal improve hearing?
A study involving 3795 patients revealed that earwax removal reversed the hearing loss in 9% of the patients4.
Furthermore, another study reported that removing blocked earwax improved hearing by about 5 dB3.
Ear irrigation procedure at home
To perform an ear irrigation procedure at home, you will need the following equipment and ingredients:
Ear irrigation procedure equipment and ingredients
- An Elephant ear washer bottle system
- A towel or a washbasin (usually supplied with the Elephant ear bottle)
- A small cooking pot
- 250 ml (8.5 oz) of water
- A teaspoon of sea salt
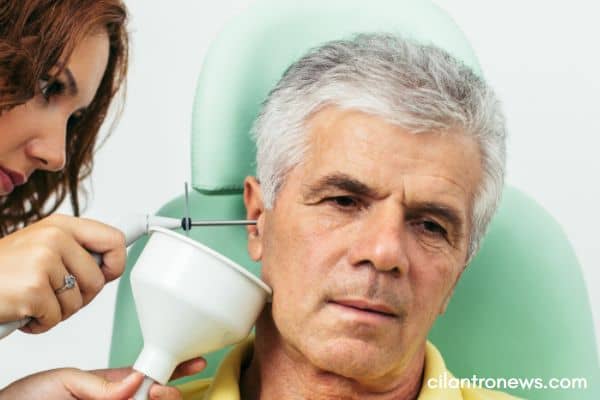
What is an Elephant ear washer bottle system?
An Elephant ear washer bottle system is a special spray bottle invented by a physician to remove earwax from his patients.
It is widely used in doctor offices, medical clinics, and hospitals and is easy to use at home.
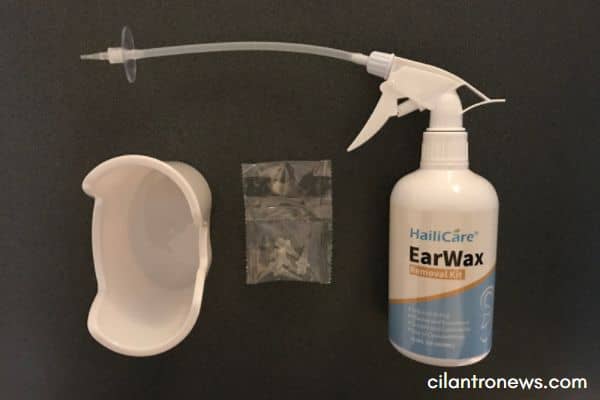
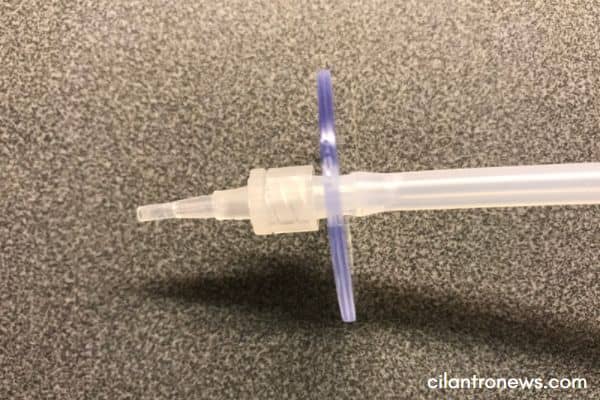
This system consists of:
- A spray bottle with a pistol pump atomizer
- A hose that has a circular ending
- Disposable tips
- A wash basin
Ear irrigation saline solution recipe
1. Pour 250 ml (8.5 oz) of water into a small pot.
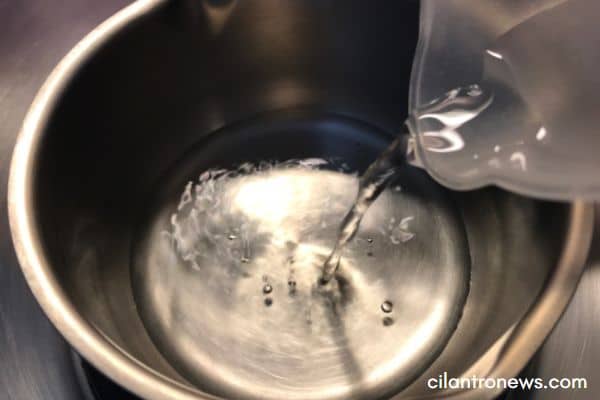
2. Bring water to a boil.
3. Add a teaspoon of sea salt.
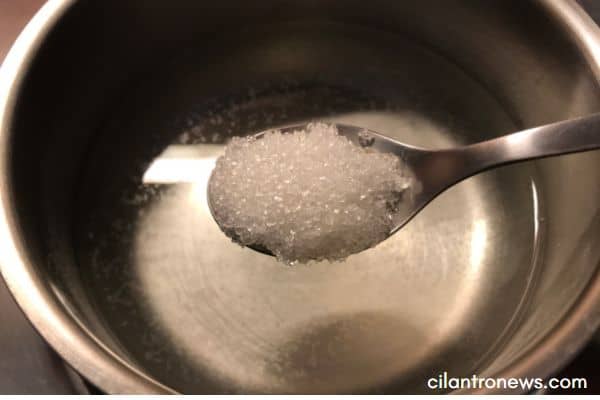
4. Stir the salt until dissolved.
5. Remove the pot from heat.
6. Let it cool down to body temperature (38°C).
Boiling the water allows to dissolve the salt but also to deactivate microbes12.
Furthermore, injecting water, which is colder or warmer than body temperature in the ear can induce vertigo10,13.
A study involving forty volunteers showed that a warmed saline solution was more comfortable than a room temperature saline solution for ear irrigation13.
Why use a saline solution for ear irrigation?
A saline solution made with sea salt allows to soften dry and hard earwax blocked inside your ear canal.
Sea salt is, namely, high in sodium chloride (NaCl), which represents about 80% of its composition.
Natural sodium chloride has detoxifying properties. It removes, to wit, radioactive cesium14.

Furthermore, sea salt is high in magnesium15.
Magnesium attracts water through your tissues into your ear canal by a process known as osmosis.
The water, in turn, helps soften your earwax, making it easier to passthrough the canal.
How to use the Elephant ear washer at home
Instructions
1. Fill the Elephant ear washer bottle with the warm (38°C) saline water.

2. Screw the spray nozzle onto the bottle.

3. Connect a disposable tip to the Luer lock fitting.
4. Place a towel or a basin underneath the ear to catch the water that runs out.
5. Introduce the nozzle gently for 3 mm (0.12 in) and direct it along the UPPER PART of the canal wall10.


6. To protect the eardrum press GENTLY the handle to inject SMALL water spurts.
7. Repeat until all earwax is removed.
8. Twist off the tip and dispose of it.
The first time you perform an ear irrigation procedure at home, inject only a few spurts of saline water into the ear.
Ear irrigation procedure safety precautions
- The person who is performing the irrigation and the person whose ear is being irrigated should be sitting down.
- Always use a body temperature solution in the Elephant ear washer system.
- The nozzle should not be inserted deeply into the ear canal (introduce it for a maximum of 3 mm or 0.12 in)10.
- Direct the nozzle along the upper part of the canal wall (not directly against the tympanic membrane). In this way, the posterosuperiorcanal wall will absorb the “shock wave” from the water flow instead of the eardrum10.
- The nozzle should not be directed downwards or forwards10.
- Press the spray handle gently to inject small water spurts into the ear canal.
- The Elephant ear washer should not be used as a water cannon in an attempt to dislodge earwax buildup so that it comes out like a champagne cork10.
- It is better to be gentle and take longer10.
Ear irrigation procedure side effects
Is ear irrigation safe?
An ear irrigation procedure can cause side effects, including1,2,3,10
- Dizziness
- Ear pain
- Damage of the skin of the ear canal
- Eardrum perforation
- Swimmer’s ear (otitis externa)
- Cardiac arrest
- Temporal lobe abscess
- Ear irrigation may rarely cause permanent deafness; therefore, people with hearing in only one ear should not have this ear irrigated.
A study estimated that major complications following ear irrigation occur in 1/1000 of the cases3.
According to another study, the pressure produced by ear irrigation is insufficient to rupture a healthy eardrum but easily sufficient to rupture a drum that has been weakened following previous inflammatory middle ear disease10.
How long does dizziness last after ear irrigation?
If you use cold water, you may experience dizziness, which will last for less than 5 minutes.
Ear irrigation procedure contraindications
An ear irrigation procedure should not be performed in the following cases1,10:
- Previous injury from a stated aversion to ear irrigation
- A previous or current history of middle ear disease
- A previous history of ear surgery
- Severe or recurrent otitis externa
- Occluding aural exostoses
- Very narrow ear canals
- Children under 12 years of age
- Foreign bodies, especially sharp objects, and dried vegetable matter
- Only one bearing ear
- Severe hearing loss
- Known inner ear disturbances (especially if characterized by severe vertigo)
- Keratosis obturans
- Past radiation therapy
- A perforated eardrum
- Cleft palate
- Tinnitus
Always consult a medical practitioner and read our medical disclaimer before performing an ear irrigation procedure at home.
Summary: Ear irrigation procedure at home
Earwax is a substance naturally secreted into your ear canal for protecting, cleaning, and lubricating your ear.
However, an accumulation of earwax can cause symptoms, such as dizziness, pain, tinnitus, and hearing loss.
An ear irrigation procedure is a method that allows you to remove an excess of earwax at home by flushing it out with saline water.
This method has previously been shown to reverse hearing loss in 9% of cases and improve hearing by about 5 dB.
Nevertheless, there are limitations, contraindications, and potential side effects of the procedure.
Certain safety precautions have to be followed when performing this method.